Front turn-signal lamps
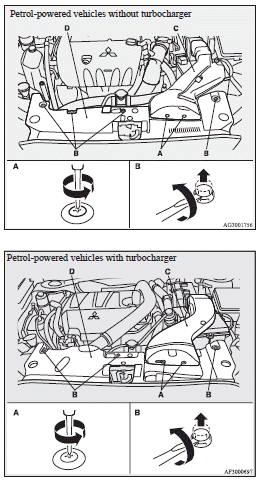
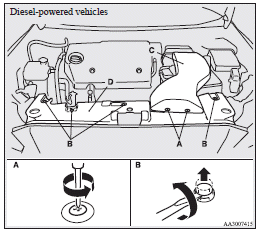
1. Remove the clips (A) and clips (B), then remove the duct (C) and the upper cover (D).
2. Remove the entire socket and bulb assembly (E) by turning it anticlockwise.
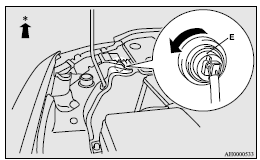
: Front of the vehicle
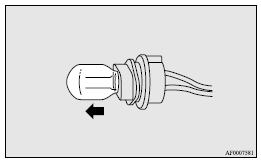
3. Remove the bulb by pulling it out.
4. To install the bulb, perform the removal steps in reverse.
See also:
How the supplemental restraint system works
The SRS includes the following components:
1- Air bag module (Driver) 2- Air bag module (Passenger) 3- Air bag control
unit (including the front impact sensor) 4- Seat belt pre-tensioner
5- Si ...
To unlock
Press the UNLOCK switch (2). All the doors and the rear hatch will be unlocked.
If the front room lamp switch (if so equipped) is in the “DOOR” position and the
rear room lamp switch (except f ...
Selector lever operation
Except for vehicles with Sports mode
The transmission has 4 forward gears and 1 reverse gear.
The individual gears are selected automatically, depending on the position of
the gear selector leve ...